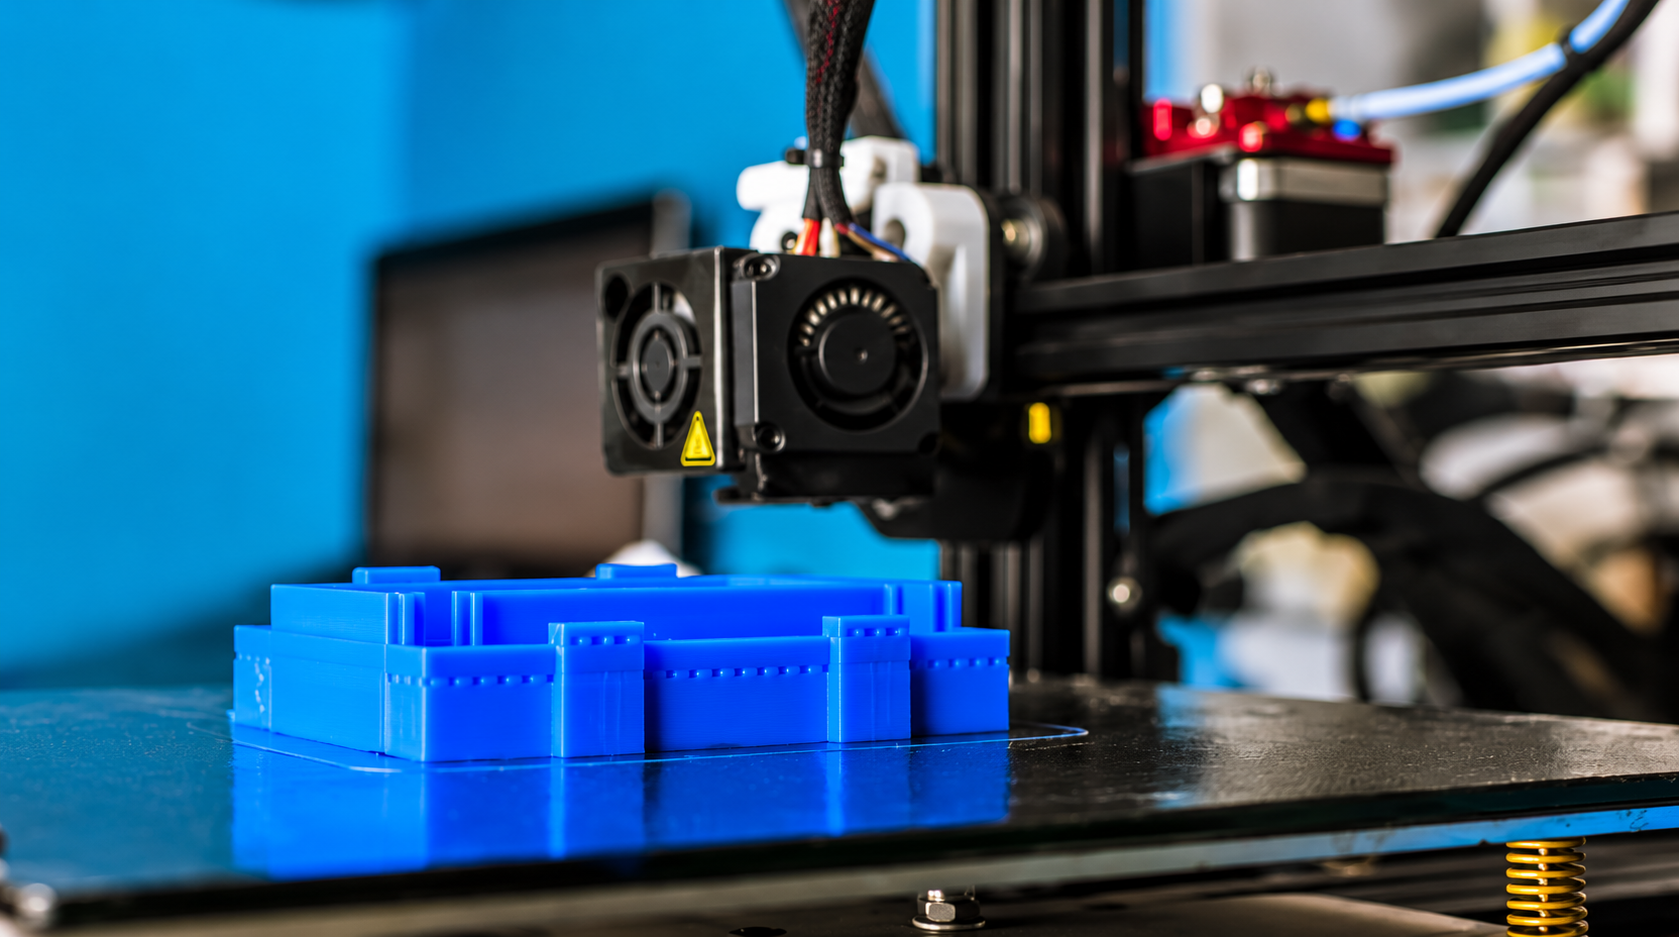
Freezing a 3D model is a pivotal step in the journey of designing a plastic product. Once the geometry is frozen, it will drive the mould design, tooling costs and production schedules. It is easy to overlook a flaw at this stage of the process and face it as an expensive design alteration job later on. And validating the model beforehand ensures high product quality, good manufacturability and budget compliance. Efficient Innovations is a leading consulting firm in the field of mould management based in Mumbai and serving the entire world. The consultants assist the clients in every stage of the mould process starting from mould concept and design validation and going through the tooling process and up to the production readiness of the mould.
Why Does 3D Model Validation Matters in Plastic Product Design?
The 3D CAD file serves as the basis for the entire plastic product design process. It describes the part shape, and this shape dictates how the mould is constructed, the method of filling the mould with plastic, and the manner of ejecting and cooling the final item. Any defect in the model will be transferred straight to the mould.
Design validation at the early stages helps the engineers find issues while fixes are easy and cheap. Fixing a model takes a few hours; fixing a hardened steel mould can take a few weeks. Thus, validation done before freezing helps minimise the reworks.
What to Check Before Freezing a Plastic Product Design?
A comprehensive assessment of these topics provides reliable information on whether the design of the direct plastic part is suitable for the production of the mould.
Wall Thickness and Uniformity
Walls should conform to the limits of the function required. Any sudden changes in the wall thickness lead to an uneven cooling, creating sink marks, voids, and warpage. If a change in wall thickness is unavoidable, gradual transitions and the thickness appropriate for the material and flow length should be applied.
Draft Angles and Part Ejection
Every surface parallel to the mould opening direction needs a draft to enable the part to come off without troubles. Textured surfaces require more draft. An insufficient draft can yield dragging marks, stress, and sticking of parts increasing cycle time.
Ribs, Bosses and Supporting Features
Ribs and bosses offer additional strength and fixing points; although, if made too thick, they would also create thicker areas that would sink. The rib thickness should be a fraction of the nominal wall thickness, and the sufficient radius should be in place on the rib base without using solo bosses that can create vacuum.
Undercuts and Parting Line Requirements
When using undercuts, actions to the side, lifters or some manual inserts are necessary, which all means additional costs and complexity. Make sure that there is a need for each of them and whether geometry may help in removing some of them. Verify that the parting line is in an appropriate place in terms of both functionality and aesthetics.
Material Selection and Shrinkage
Different types of polymers have different shrinkage properties and certain fillers (for example, glass fibre) modify the properties of shrinkage in both parallel and perpendicular directions to the flow. Make sure that the polymer meets the requirements regarding durability, temperature rating, chemicals and regulations and that the shrinkage allowance is taken into account in the tool planning stage.
Dimensional Tolerances and Functional Fit
It is important to specify tolerances that can be achieved in practice using the moulding process. If tight tolerances are specified for features that tend to warp or for mating surfaces, it will increase the inspection costs and rejection rates significantly. Therefore, it is required to control the precision of production only in those areas where it is really necessary.
Assembly Requirements and Product Performance
Evaluate the snap-fits, screw bosses, welding features and sealing surfaces against actual assembly conditions. Take into account factors like load, vibration, thermal growth and repeated usage in order to ensure that the part meets its performance requirements throughout its life cycle.
Design for Injection Moulding: Key Guidelines
Designing and manufacturing an injection-moulded part in accordance with injection moulding design guidelines will ensure that the part is:
- Maintain suitable and consistent wall thickness.
- Apply proper draft angles and radii, steer away from sharp interior corners that create stress concentrations.
- Design ribs and bosses to reduce sink marks and minimise warping.
- Think about gate locations, parting lines and ejection together, as they will have an effect on appearance, strength and cycle time.
- Tape for shrinkage of material and moulding restrictions e.g. length of flow, filling narrow sections, etc.
- Design feasibility should be assessed prior to tooling rather than wasting time on trial and error at the mould stage.
Common Plastic Part Design Issues
Even experienced teams encounter recurring problems in plastic part design:
- Uneven wall thickness and material accumulation.
- Sink marks, warpage and dimensional variation.
- Insufficient draft and difficult ejection.
- Complex geometry that increases tooling costs.
- Production may be hard to keep within specified tolerances.
- Assembly or functional problems that are only identified after mould production.
The majority are inexpensive to rectify in CAD, and very expensive to rectify in steel.
How Manufacturability Analysis Improves Product Development
A manufacturability analysis looks at the shape from the moulder’s perspective before money is spent on the tooling. It enables teams to:
- Identify plastic component design risks before tooling investment.
- Assess moulding feasibility and tooling complexity.
- Consider the choice of material, the shape of parts and the manufacturing needs.
- Improve co-ordination between product design, mould design and manufacturing departments.
These groups, when they are given a chance to review the same model together, will find that priorities conflict from the very start and the design can be improved for everybody’s constraints.
Benefits of Validating the 3D Model Before Design Freeze
3D model validation prior to design freeze allows engineers to detect issues early in the plastic product design process, when they are much more affordable, resulting in higher quality, reduced tooling costs and an overall more straightforward transition to production.
Reduced Design Iterations And Tooling Modifications: CAD detection keeps issues to a minimum thereby saving reworking time and costly changes to hot or cold steel for moulds that are already in production.
Better Product Quality And Dimensional Consistency: Check wall thickness, draft and tolerances upfront to avoid warping and sink marks so that parts are always to spec for every production run.
Improved Manufacturing Feasibility: Checking draft, undercuts, gate location, and ejection to confirm the part can be moulded without too complex and expensive tooling.
Greater Control Over Development Costs And Timelines: Budgets are predictable with less rework and revision, and early indication of risk enables teams to confidently plan plastic product development schedules.
Smoother Transition From Design To Production: With a validated model, mould development, trials and production aren’t full of surprises, so approvals come faster and launches stay on schedule.
From 3D Model to Production-Ready Plastic Component
The model then proceeds through engineering validation, manufacturability assessment and ultimately, the development of the mould. The tool is tested to ensure it produces parts to specification during mould trials and then approved once a manufacture of parts repeatedly meets specification.
3D CAD Model
↓
Design Review
↓
Manufacturability Analysis
↓
Design Validation
↓
Mould Development
↓
Production Trials
↓
Final Approval
Why Choose Efficient Innovations for Plastic Product Design?
Efficient Innovations is a design engineering consultancy that combines design, development and validation to quickly and easily create and modify products. In-house industrial designers and engineers work tightly with our clients to provide:
- Product and mould engineering support, from concept and feasibility studies to detailed design and structural simulation in 3D.
- A view of manufacturability and moulding feasibility review of the tooling design including DFM analysis.
- Tooling/materials/production requirements: determined from DFMEA, PFMEA, finite element modelling & mould flow simulation validation.
- Data to back up design validation and production validation (such as trials for material compatibility, dimensional accuracy and functional integrity).
- Our goal is to make sure your design gets into production without hiccups.
FAQs About Plastic Product Design
1. What Is Plastic Product Design?
Plastic product design is the process of specifying the shape, function, and material of a component so that the finished part performs as intended. It includes considerations such as the design of the CAD models, tolerance analysis, selection of materials, and specifications for the moulding process.
2. What Should Be Checked Before Freezing A 3D Model?
Review wall thickness and consistency, draft angles, ribs and bosses, undercuts and parting lines, material and shrinkage, dimensional tolerances, and assembly requirements. Your review of these at the same time will show you that your design is perfect for manufacture, mouldability and tooling with minimal chance of future changes.
3. Why Is Design For Injection Moulding Important?
The design for injection moulding guarantees the component is fillable, coolable and ejectable. Compliance with DFM minimises defects like sink marks or warpage, reduces cycle times and makes the moulds less complex, which lessens costs during tool development and production and guarantees production consistency across batches.
4. How Does Manufacturability Analysis Reduce Product Development Costs?
Early manufacturability analysis reveals issues before the tool is cut thick sections, awkward ejection or unneeded undercuts. These are easily corrected in the 3D model, saving huge amounts of money by preventing expensive re-machining of completed moulds, multiple trials, and extending the production schedule.
5. When Should A Plastic Product Design Be Validated?
Validate a plastic product design prior to design freeze and at the point of tool development. This is the stage where modifications are made rapidly and cost-effectively, and engineering, mould design and manufacturing teams can agree on one validated model before moving to the tooling investment.